Inspired by a project that Bob over @Iliketomakestuff made a while back, I wanted to create a pair of side lights for the bedroom, and I modeled them after this project that he did: https://iliketomakestuff.com/making-a-modern-lamp-with-inductive-charging/ . I didn't need the wirless charging, so I ommited that, and I didn't want the lamp and shade on top so I also omitted that as well.
I also wanted to use a momentary switch and make the lamp work with google assistant instead of alexa and a toggle switch.
So the journey began!
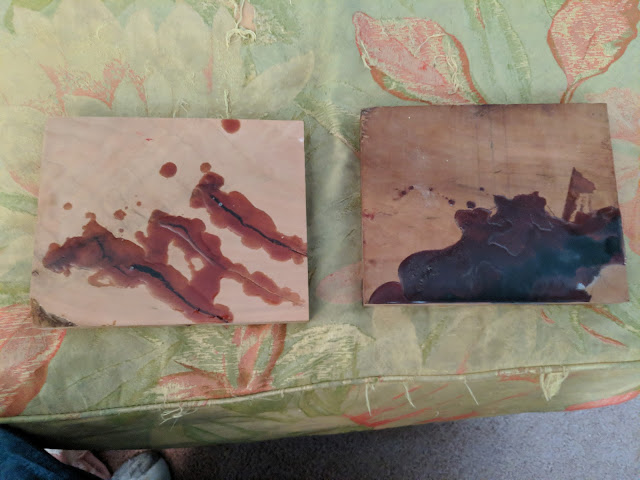
I started with a few pieces of cherry wood that I had on hand. I milled them down to the rough size I wanted them to be. There was also some gaps and cracks so I filled those with Total Boat resin epoxy dyed with some allumilte dyes.‘
I did some sanding, then some more sanding up to 320 grit on the surfaces that would be seen, 240 on the backs and bottoms and backs.
I accuired some NodeMCU micro controllers, mostly because this is what Bob over at @iliketomakestuff suggested in his article, though I also ordered some Arduino Unos and Nanos because I didn't know the difference at the time. I also picked up a Weller soldering station and got my soldering on.
I spent more time than expected learning the differences between the Arduino Uno, Nano and the NodeMCU micro controller modules. While it was a lot of fun, it was frustrating at times. There were plenty of examples out on the internet, and as a software developer by trade, I figured it would be "simple", and again while it wasn't difficult it was fun
The final product came out better than I could have hoped for. I love bringing my love for woodworking together with my background a software developer and learning something new with electronics, micro controllers and the Arduinio and NodeMCU things.


Comments
Post a Comment